Resources
Getting started
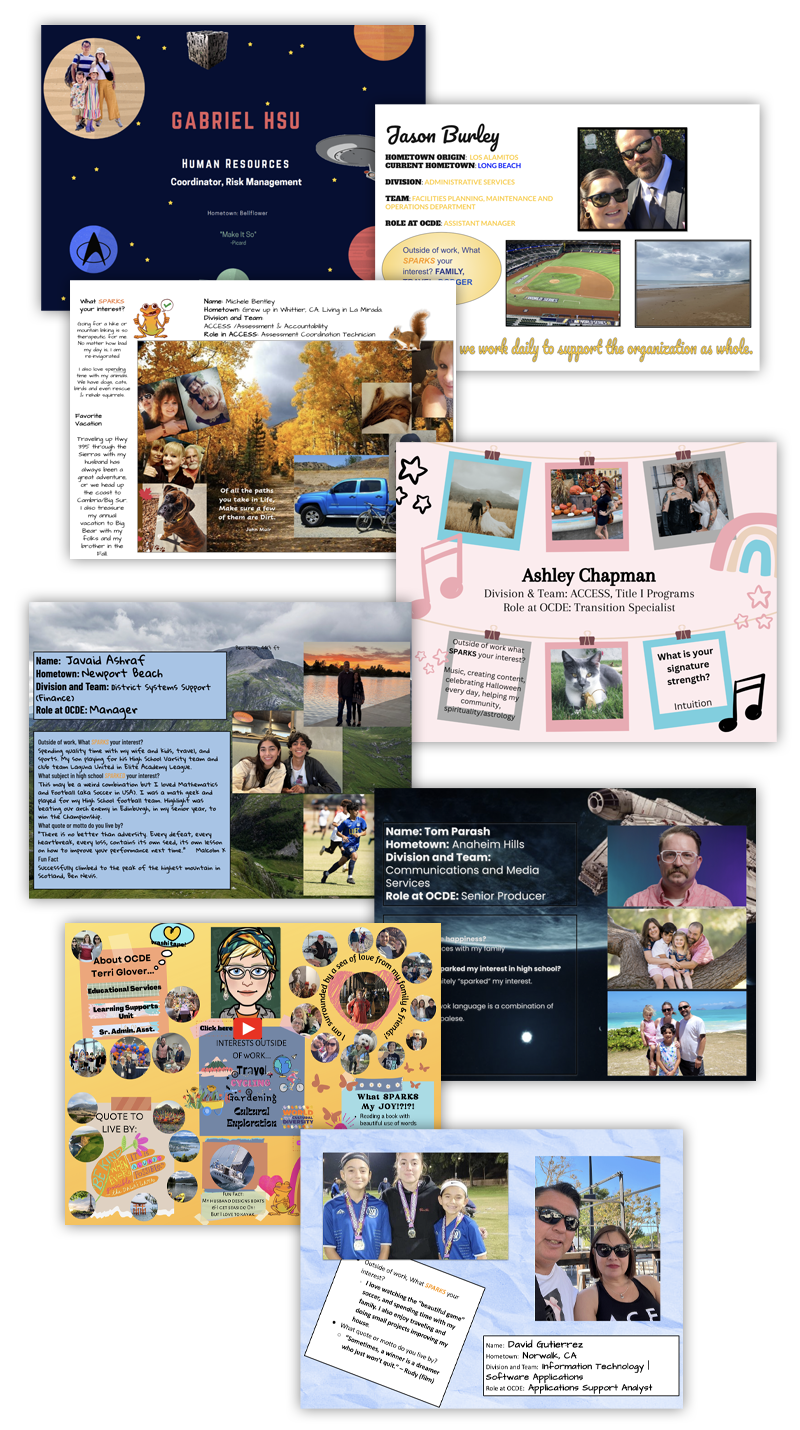
When it comes to making your slide, there aren’t a whole lot of rules here. For starters, set up your slide so it matches the size and resolution of other slides in the deck. Your slide should be a landscape layout on a standard 11″ by 8.5″ (letter) canvas. Make sure to use nice high-resolution photos — generally, if it looks ok on your monitor, it will probably look ok in the slide deck.
At the very least, include the following information on your slide:
- Name, or “nickname”
- Your role at OCDE
- Department, division or unit
- A photo of yourself
Consider a more personal touch for your slide by including some of the following:
- The city you live in, or maybe the city you grew up in
- Your favorite interests or hobbies
- A quote or motto you live by
- Your favorite vacation spot
Take your slide to the next level and include some photos of yourself, your family, pets or glimpses of your life outside of OCDE.
Every element of your slide is an opportunity for expression. Have fun with fonts, colors, backgrounds, borders, clipart — it’s all good!
When you’re happy with your slide, save or export it as a JPG or PNG image and email it over to Sonja Morrissey at smorrissey@ocde.us.
Tools of the trade
Below are a few software options you might want to explore when building your slide. Don’t worry about the tools too much, just work with what you’re most comfortable in. As long as you’re able to export your work as a JPG or PNG, we’ll be able to add your slide to the deck.

For a simple, familiar drag-and-drop experience, Google Slides is a great way to go. Freely place text boxes and images in an aesthetic arrangement that matches your personal style.
Start by creating a new Slides document with a single slide.
In the top menu, go to …
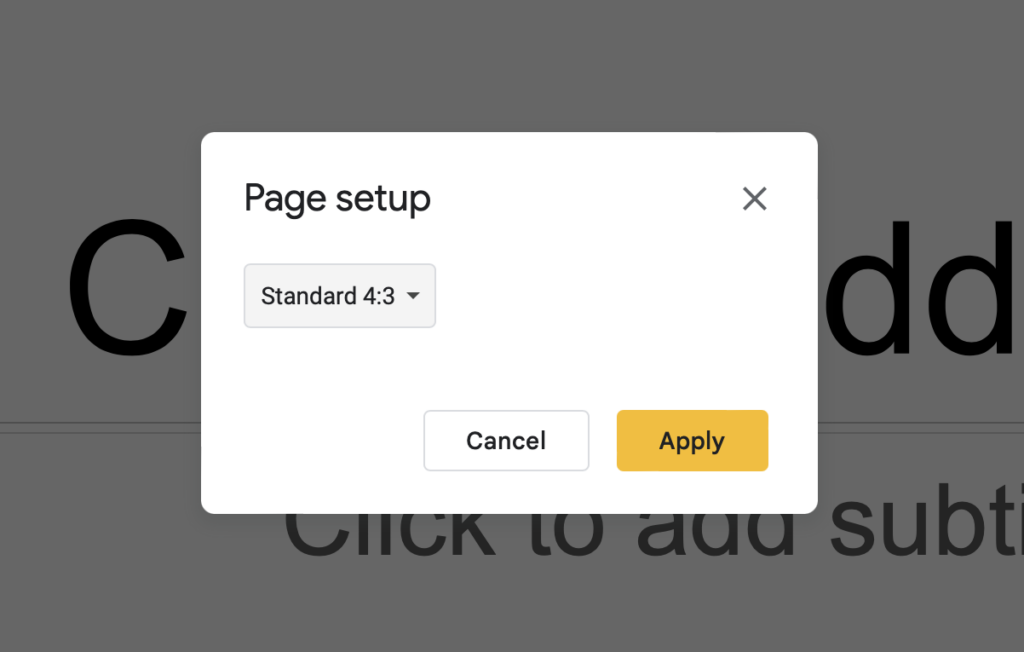
File > Page setup
Select Standard 4:3
When you’re ready to share your side, go to …
File > Download > JPEG image
From flyers, to presentations, to videos and social media posts, Canva is quickly becoming the tool of choice for educators and beyond. This simple-to-use online design studio is easy to learn and surprisingly powerful.
Go to, canva.com
and start a New Project
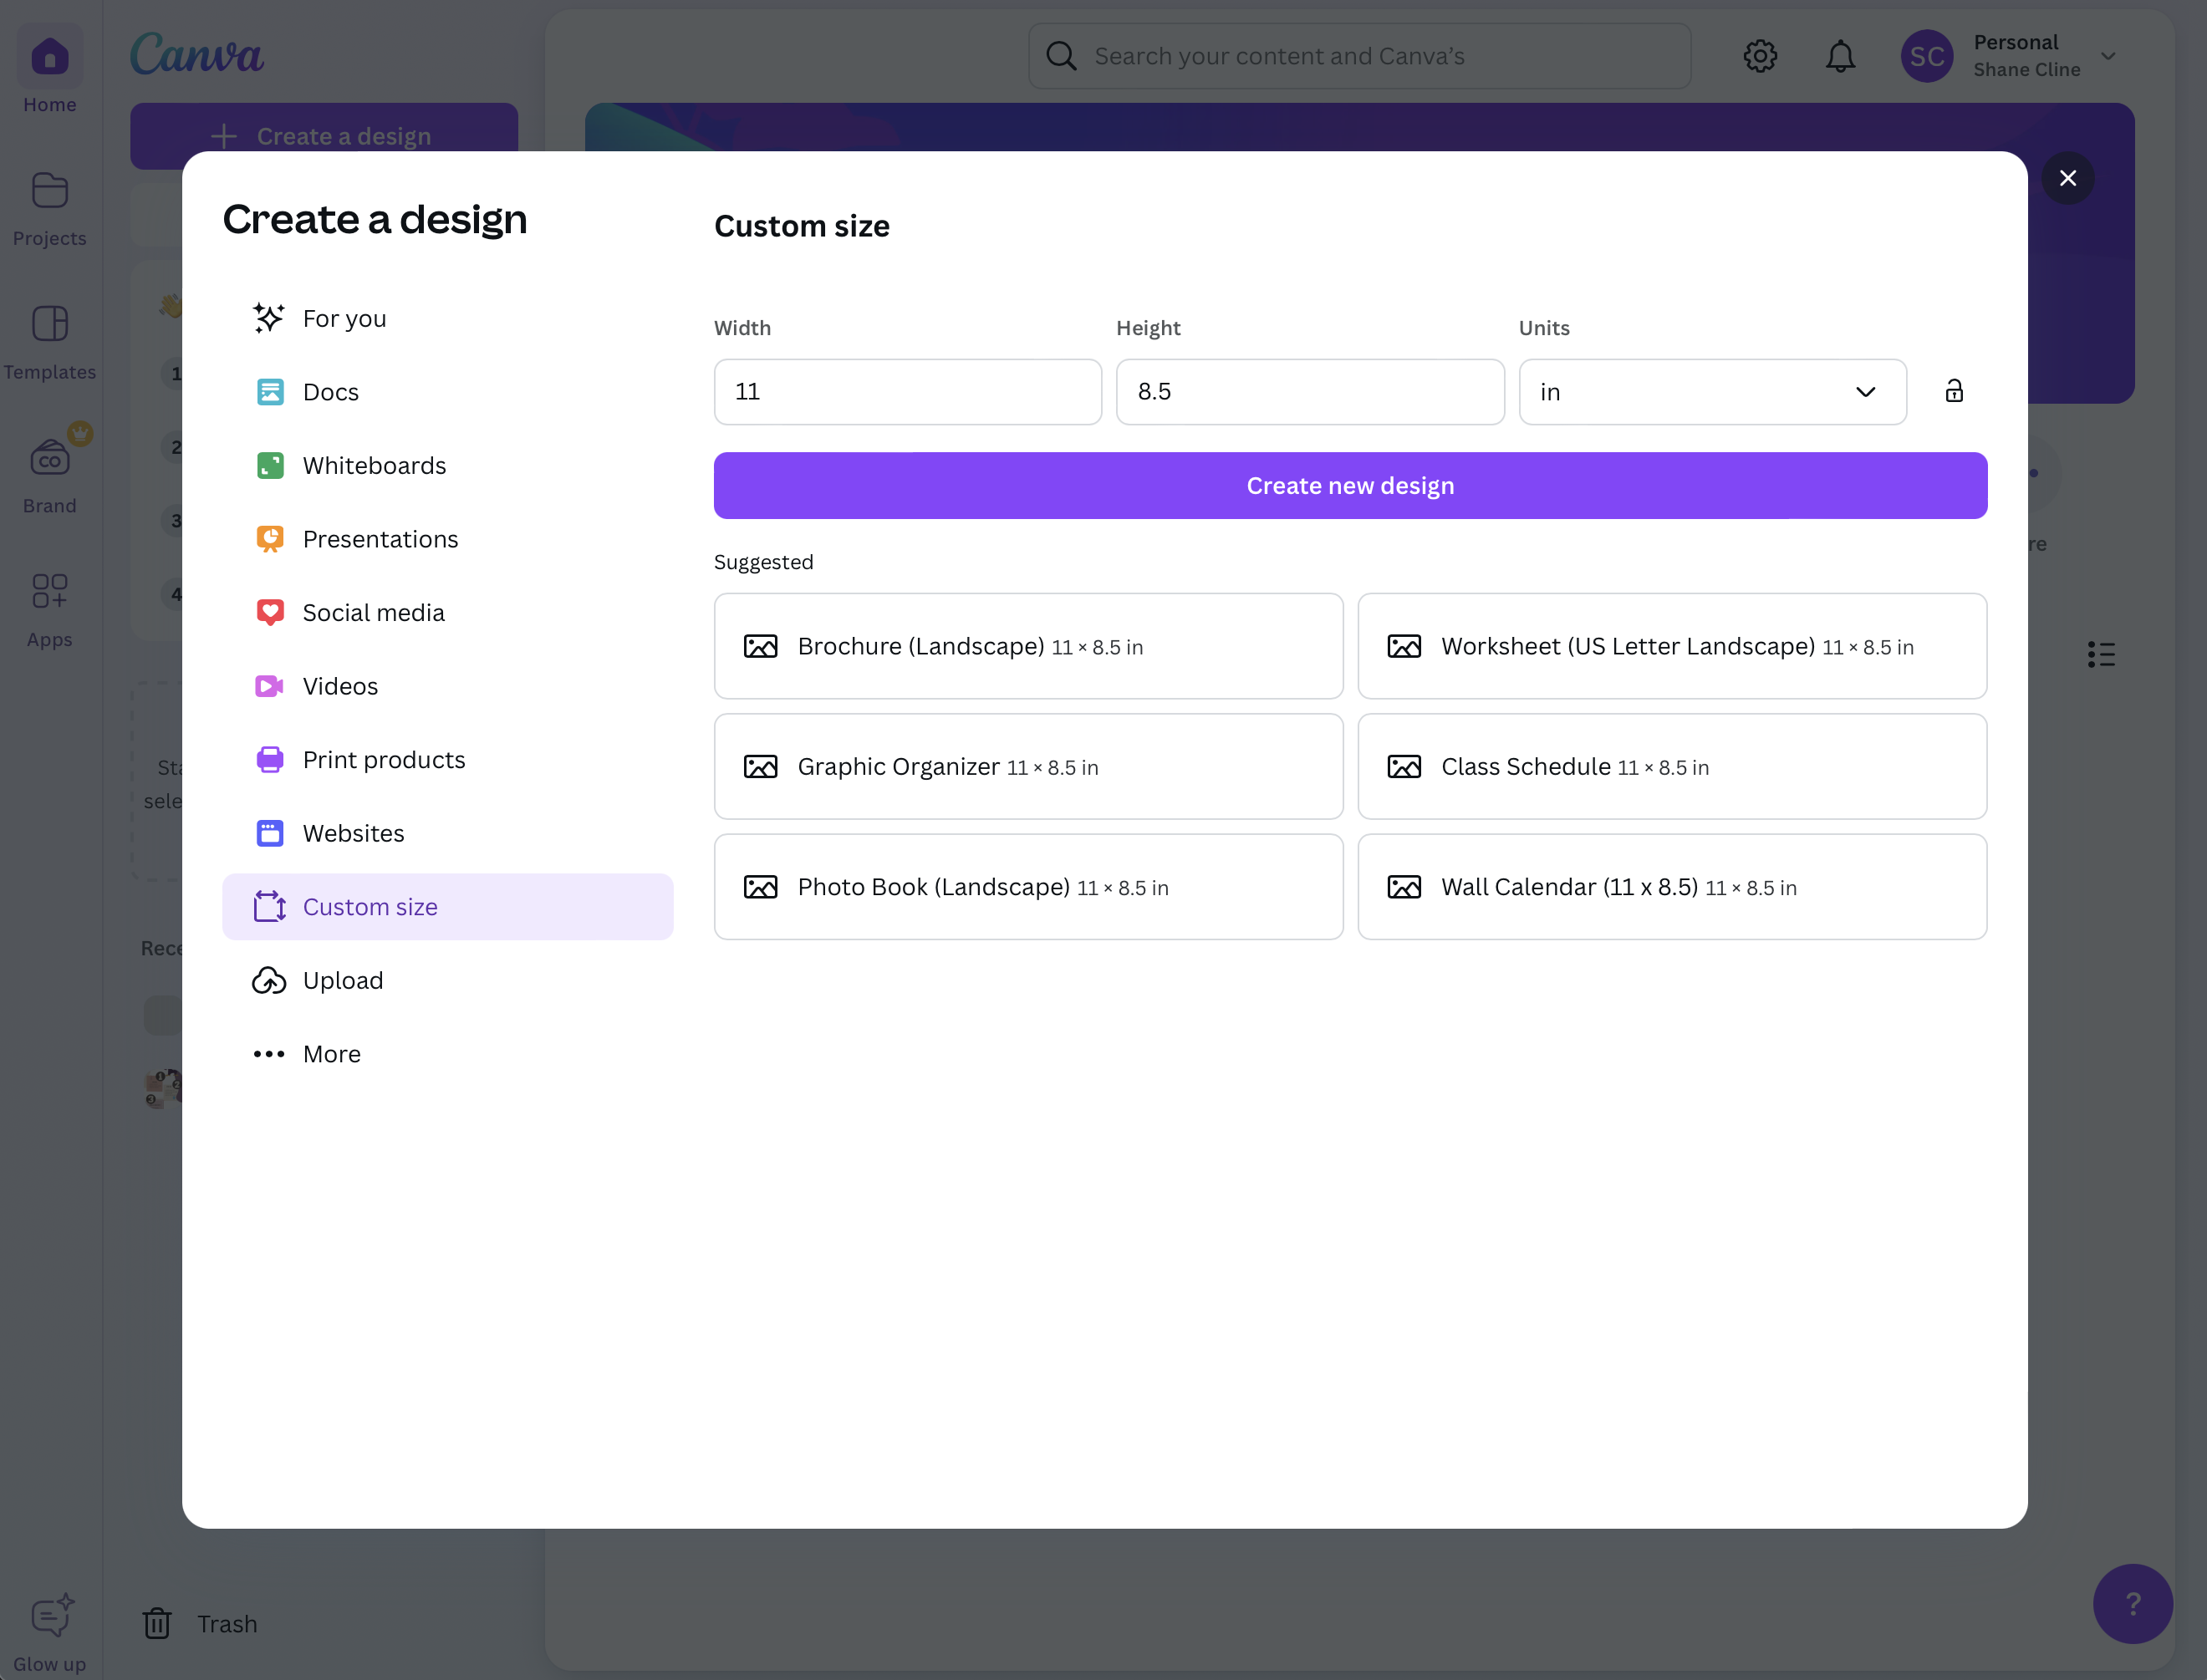
Use a custom size …
Width: 11″
Height: 8.5″
When you’re happy with your design, go to …
Share > Download
The default settings for PNG should work just fine.
Those other tools are fun and all, but when it comes to creative expression, nothing beats the limitless capacity of a commercial production software package. If you’re considering this option, you probably don’t need any further instruction. Have at it!
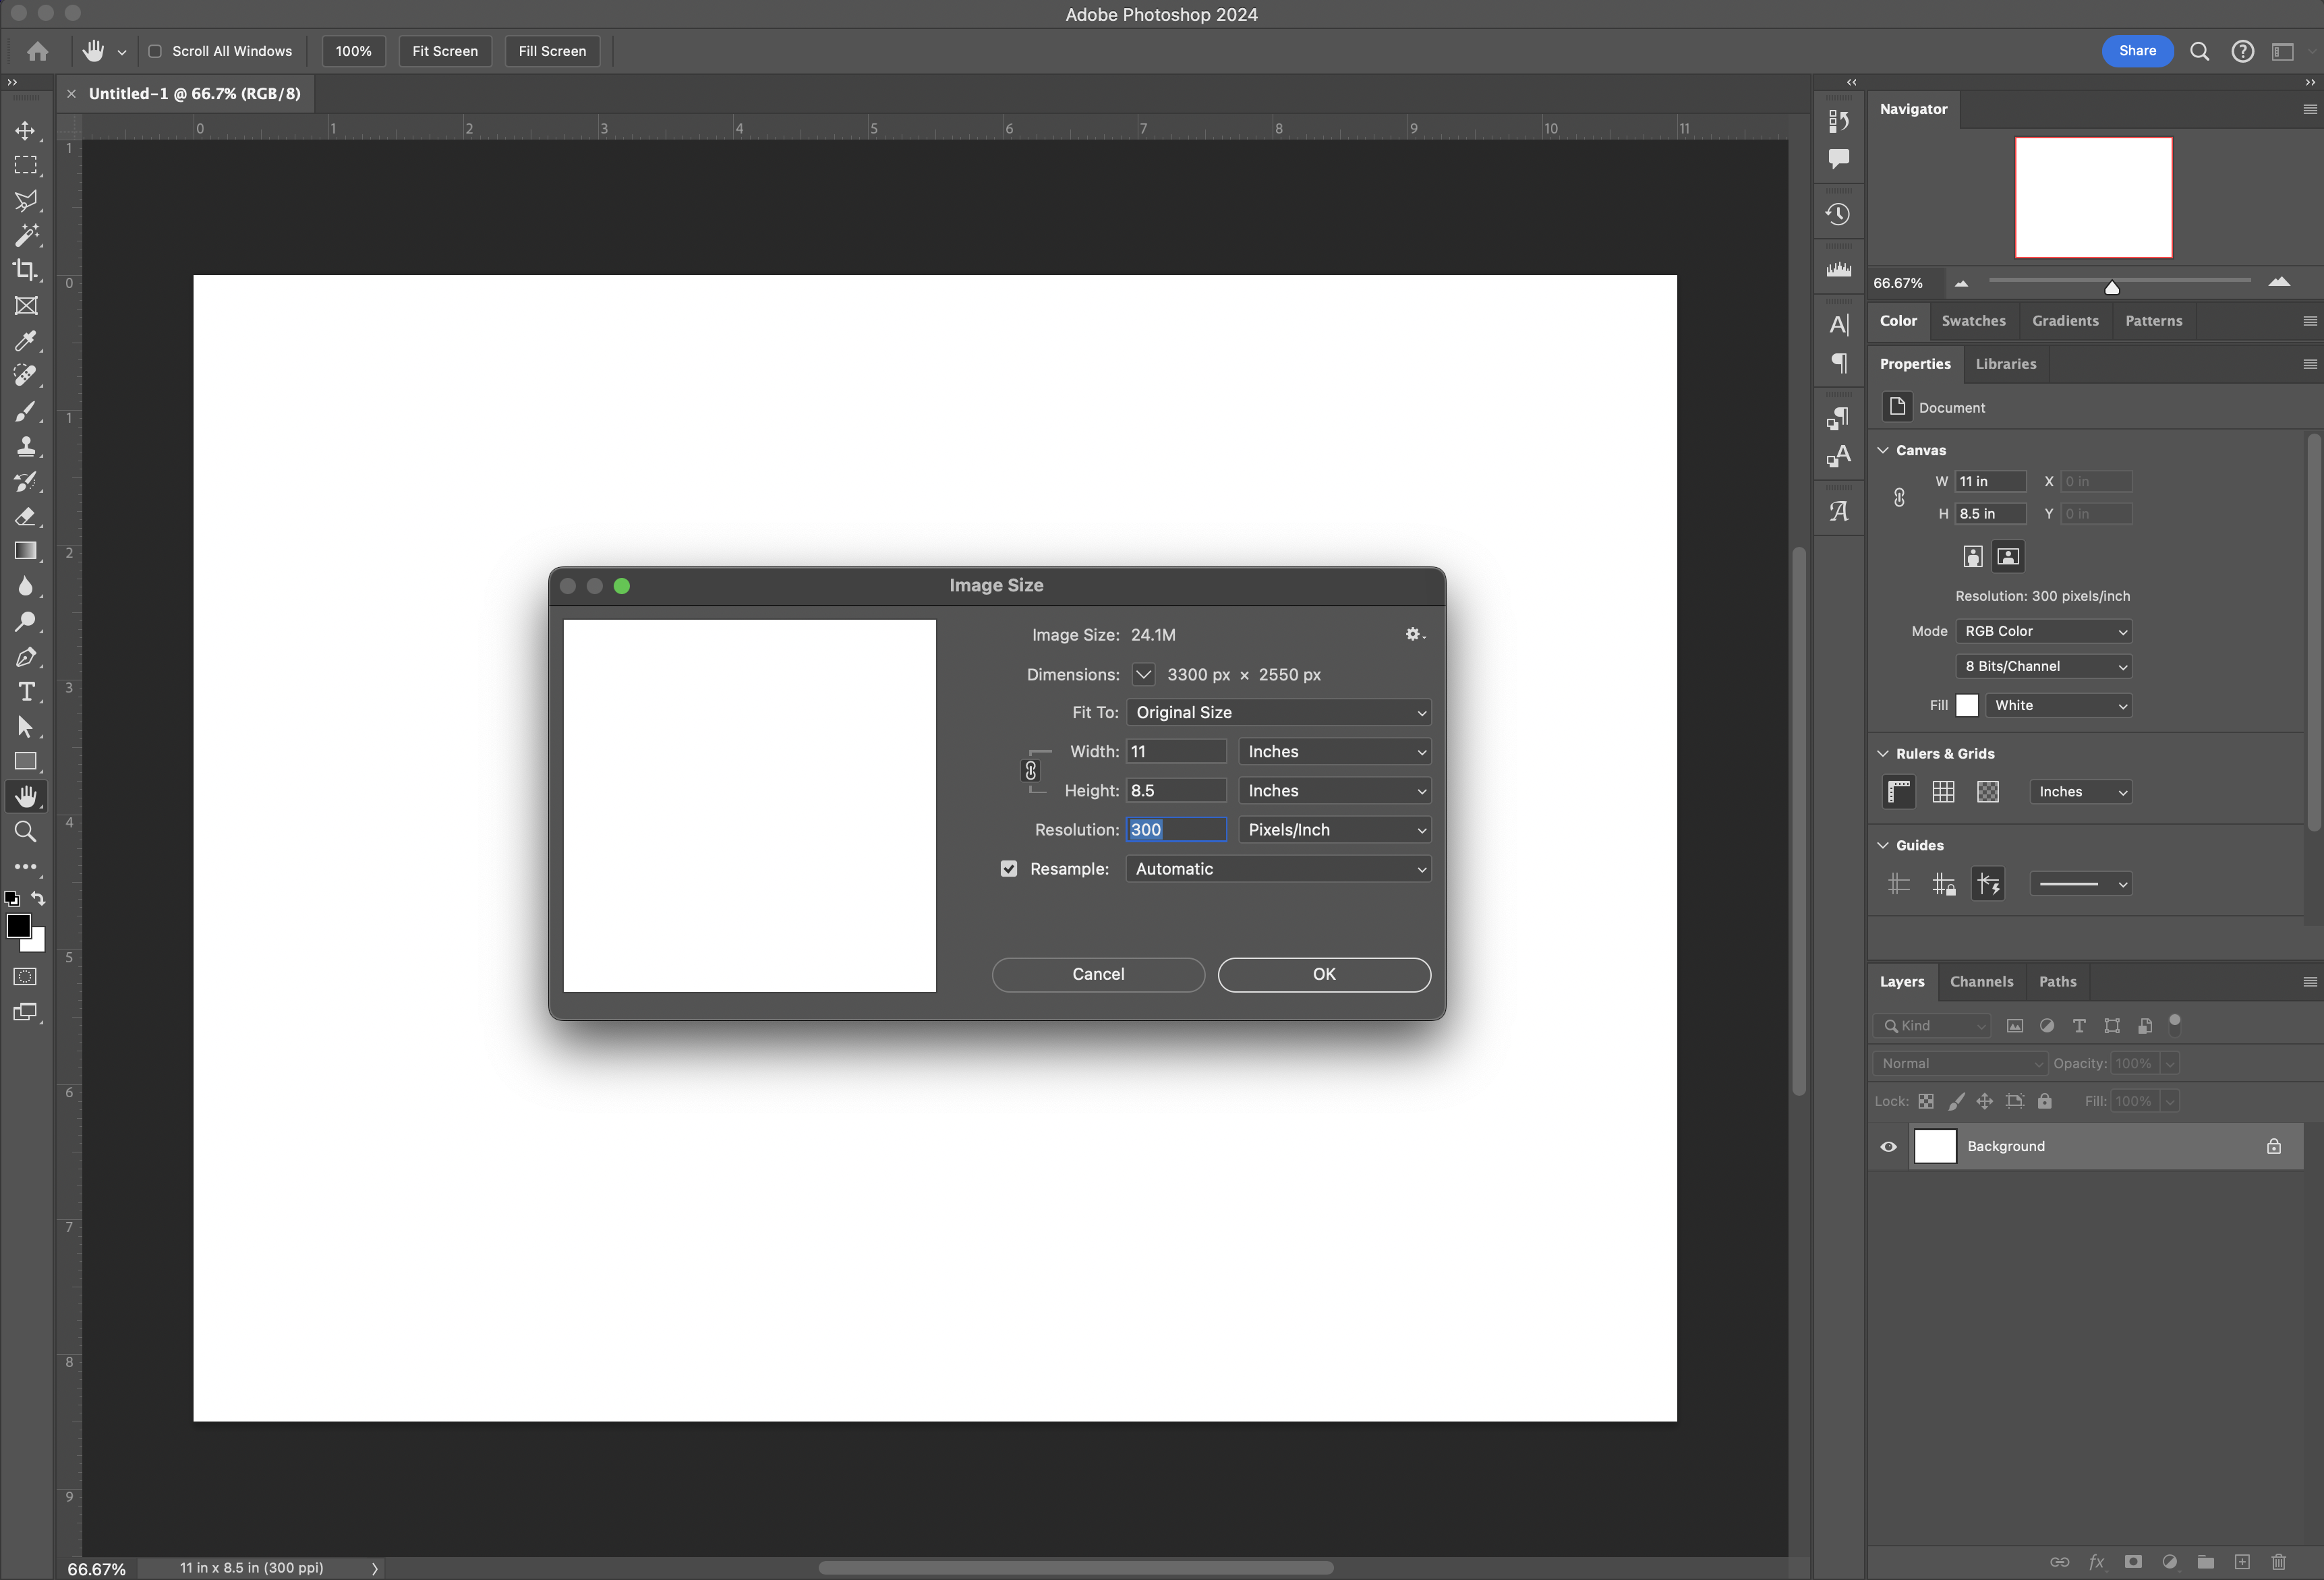
Your canvas should be 11″ by 8.5″, landscape orientation with a resolution of at least 150 pixels/inch.
Save your canvas as a PNG.
Scrapbooking?
Yes, you read that right.
There’s still room in this digital world for a little analog fun. Grab a sheet of paper, some scissors, markers, tape, maybe a little glue and let your creative juices flow. Cut out photos. Use some stickers. A little glitter never hurts. There are no rules here.
When you’re happy with your completed canvas, use your smartphone to take a picture of it. Even better — use a scanner app to capture a perfectly framed image. Additionally, many of the printers around campus have the ability to scan documents. Give it a try!